Lined pojagi is actually quite easy to do. In rough Korean, this stitch is called “gim chim zhiel”. Seam allowances are not finished since the finished product is lined with another piece of fabric, so they are all on the inside. It is quite commonly used for place mats, table runners, etc.
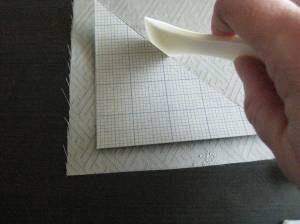
This cardstock template is for the actual size of the finished piece.
Line up the template with the grain of the fabric, and mark the shape with a hera.
It is difficult to photograph, but you can just see the imprint of the line left on the fabric. It is easier to see in real life.
Next, mark the cutting line with chalk leaving a 1 cm seam allowance.
The piece is cut out, and the imprinted lines are folded and finger-pressed.
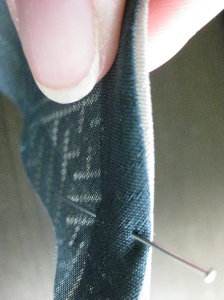
Two pieces are lined up (in this case, one white and one blue) and held together with pins.
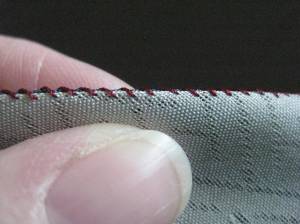
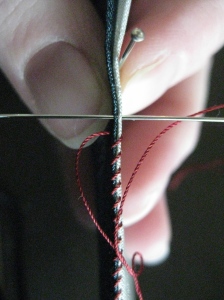
The stitch is an overcast stitch right on the edge of the fabric. Contrasting thread colour is normally used. The stitching is supposed to stand out as part of the design.
The needle goes through the fabric perpendicularly, so that the stitches are diagonal. The goal is for uniform stitches.
The two biggest challenges with gim chim zhiel are uniformity and tension. The stitches should be even and similar in size. When the stitching is complete, the fabric is pressed open, and the two pieces should lay just touching side-by-side. If tension is too tight, they will be one on top of the other and leave puckers. If tension is too loose, there will be gaps. Stitches need to be pulled gently, never tight or firm. Practice is the best way to get a feel for it.


Wow. Your stitches are just gorgeous. I love that you’ve been able to take advantage of learning the culture of Korean sewing while you’re there. You’ve made so many beautiful things!
xo -El
LikeLike